
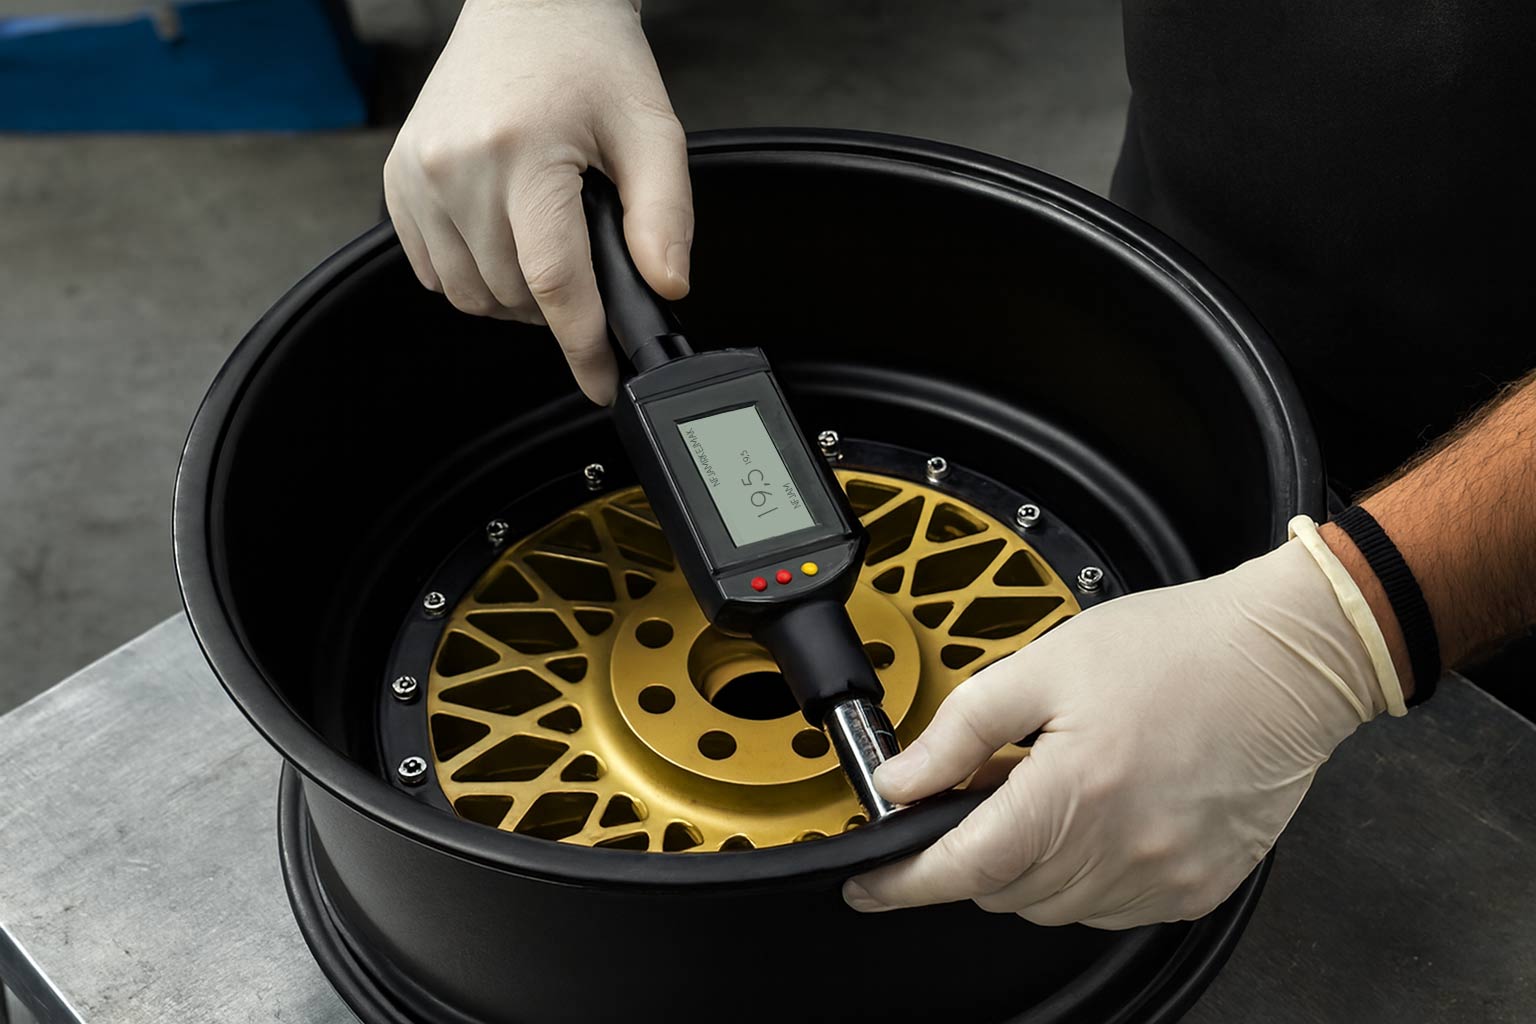
Handling three-piece modular rims requires methodology, appropriate tools, and strict adherence to procedures to ensure safety and structural integrity. This guide details all the necessary operations for their maintenance and customization.
Essential tools for the intervention
Before handling modular rims, gather professional equipment to ensure the quality and safety of your intervention. The absence of a single tool can compromise the final result or create risks during driving.
Complete list of required equipment:
- Replacement or original center disc
- Compatible outer lip
- Appropriate inner barrel
- Aerospace-grade peripheral hardware
- Caulking gun or specialized adhesive cartridge
- Calibrated torque wrench with 20-100 Nm range
- Set of sockets and wrenches adapted to bolt dimensions
- Medium or strong threadlocker depending on specifications
- Safety goggles for splash protection
- Heavy-duty mechanic gloves
- Sealant for automotive applications
Disassembly: separating modular components
Disassembly, referred to as "splitting" in technical jargon, involves disassembling the three constituent sections of the rim. This operation is necessary for maintenance, aesthetic customization, localized repair, or modification of dimensional characteristics.
Understanding modular architecture
Three-piece rims are based on a design with distinct sections allowing individual customization and maintenance of each element.
The three fundamental components are:
- Center disc: median element receiving the vehicle hub fastenings
- Inner barrel: connecting section between the center and the outer periphery
- Outer lip: visible rim providing protection and aesthetic signature
The separation of these components allows for thorough cleaning, refinishing of surface finishes, replacement of damaged elements, or adjustment of offset and overall width to optimize vehicle adaptation. This modularity is the distinctive advantage of three-piece rims compared to traditional monoblocks.
Essential precautions before intervention
A lack of technical skills, appropriate tools, or automotive mechanical knowledge exposes serious risks of structural failure during reassembly. Improperly assembled rims can disintegrate while driving with dramatic consequences. If in doubt about your capabilities, entrust this work to a certified wheel customization specialist or a qualified automotive preparer.
Detailed disassembly procedure
Methodical disassembly prevents damage to components and facilitates subsequent reassembly by maintaining the order and traceability of parts.
Chronological steps for disassembly:
1. Preliminary loosening: identify the peripheral bolts connecting the lip to the center with your socket set, then partially loosen them without complete extraction
2. Star pattern sequence: strictly follow a star or cross pattern during loosening to evenly distribute residual stresses and prevent component deformation
3. Hardware extraction: remove each bolt individually, immediately placing them in a dedicated container to prevent loss
4. Lip separation: gently lift the outer rim with slight oscillating movements to overcome the adhesion of the O-rings without force
5. Barrel disassembly: depending on the specific design, the inner barrel may require an appropriate extractor or controlled impact disassembly according to manufacturer recommendations
6. Cleaning and inspection: take advantage of the disassembly to methodically clean each element and inspect its condition, replacing worn seals and gaskets
7. Secure storage: store components in a clean environment away from contamination and accidental impacts
Assembly: building the complete rim
The assembly process, commonly referred to as "build", consists of joining the three sections to form a functional wheel that meets safety standards. The rigor of this phase directly affects reliability in use.
Component preparation before assembly
Prior inspection and absolute cleanliness of the parts guarantee optimal assembly free from contamination that could compromise sealing or mechanical strength.
Essential preparatory operations:
- Complete degreasing of contact surfaces with appropriate solvent
- Visual inspection of each component to detect cracks or deformations
- Verification of dimensional compatibility between sections
- Inspection of screw condition and replacement if necessary
Precise alignment of components
The correct positioning of the elements in relation to each other determines the final balancing and symmetry of the assembly. Even a minimal misalignment generates parasitic vibrations and premature wear of the bearings.
Step-by-step assembly methodology
Strict adherence to the chronology guarantees a professional result free of structural defects.
Complete assembly sequence:
1. Center installation: position the center disc on your workbench with the hub mounting face oriented upwards to facilitate handling
2. Placement of the outer rim half: carefully align the inner barrel with the center, precisely matching the mounting holes
3. Hardware introduction: insert the bolts through the center, pass through the barrel, and then partially engage them in the lip, checking the perfect alignment of each fastener
4. Progressive tightening: use your torque wrench to gradually tighten according to the manufacturer's torque, following a star pattern to ensure homogeneous distribution of stress
5. Threadlocker application: certain configurations require the use of locking adhesive on the threads to prevent vibrational loosening; consult the specific recommendations
6. Final torque check: methodically check the torque of each bolt to confirm compliance and uniformity of tightening
7. Valve assembly: install the appropriate pneumatic valves on the rim halves, respecting their angular positioning
Sealing: protection against infiltration
The application of sealant guarantees the impermeability of the modular assembly against moisture, road splashes, and contaminants likely to initiate corrosion. This final step determines the longevity of your custom rims.
Importance of professional sealing
Effective sealing requires the use of a sealant paste specifically formulated for automotive applications, resistant to thermal and mechanical stresses of rolling. The adequate tightening torque is also a critical parameter: undertightening causes infiltrations, while overtightening weakens the components.
Complete sealing procedure
The rigorous protocol ensures a durable impermeable barrier and a professional aesthetic finish.
Detailed sealing steps:
1. Tightening check: confirm the torque compliance on all fasteners and the complete absence of play between sections
2. Surface preparation: ensure absolute cleanliness and complete drying of the areas receiving the sealant, then delimit the application area with low-tack masking tape
3. Bead application: apply a regular bead of sealant completely covering the gap between components without excessive overflow
4. Smoothing and finishing: gently spread the product with a gloved finger to obtain a continuous joint without discontinuity that could create infiltration points
5. Masking removal: immediately remove the adhesive tapes before curing to reveal a clean and professional line
6. Complete curing: strictly adhere to the drying times indicated by the manufacturer before any handling or pneumatic assembly
Your modular rims are now operational, ready to receive their tires and enhance the appearance of your vehicle while providing the expected performance.